
Table of Contents
Imagine you are sitting on a beach, soaking up the sun. Your toes are buried in the warm sand; you are sipping on a fresh coconut right from the shell, cheesy umbrella and all.
DING. You look at your phone just in time to see a notification flash across the screen; another person signed up for your course and you just made $150. While in a swimsuit, on the beach.
Sounds like a great fantasy, right?
That can be your reality, if you take the time to actually launch that online course you’ve been thinking about for so long.
Creating an online course can seem overwhelming, but it doesn’t have to be.
Here is the thing — in 2019, the online course market brought in 46 billion dollars, and while that doesn’t compare to massive industries like online gaming, online courses also have a much lower barrier to entry.
You don’t need thousands of dollars in computer equipment and coding skills to create an online course.
All you need is knowledge and the ability to share that knowledge in a format that is easy to understand.
So, how do you create a successful online course? Here is what you need to know.
1) Choose the Right Topic for Your Course
Creating an online course is a bit like baking — you start with the highest quality ingredients and mix them together just right and end up with a tasty cake. Just not carrot cake, because why would you ruin a perfectly good cake with carrots?
The point is, there is no one magic ingredient; the different parts of your course need to work together to create magic.
It all starts with choosing the right topic for your course.
This is where a lot of online course creators get stuck, but settling on a topic doesn’t need to be a three week process. Instead, ask yourself the questions below and make a list of possible topics.
Once you have a list of five to ten topics, it is time to narrow the list down. Toss any ideas that don’t excite you; there is no point in launching a course you will hate creating.
Do you have a decent level of expertise for all the topics? Toss any topics you are not an expert in or do not have the drive to research extensively.
Now, look for topics that are too narrow. Sure, you might have struggled to implement one specific email feature, but can you create an entire course out of that topic? Can you broaden the topic? If not, toss it.
Next, look for topics that are too broad. Learning how to run an online business is challenging, but can you create a four- to six-week course and cover everything? Probably not. But, you could cover how to start an online business or how to do social media for an online business in a few weeks.
By now, you should be down to just your best ideas. These are the topics that you know inside and out, are excited about, and are neither too broad or too narrow.
Now you need to know if your audience cares about these topics and if they are willing to pay for them through some good old market research.
The simplest way to get the lay of the land is through a survey. You can use a survey software tool like Survey Monkey or Google Forms or ask more informally through social media, such as Instagram or Facebook group. If you have a solid email list, consider asking there.
Use the input from your audience to select a topic that is important to them.
Notes on Pricing: Make sure to research the price point of other courses in the same field. And remember, cheaper isn’t always better. If you go too cheap, people will assume it doesn’t offer enough value. Go too high and you will lose sales. Check out this post from Teachable to dig more into how to price your course.
2) Choose The Right Format & Platform
Now that you have your topic, it is time to decide where your course will live! There are so many options, it can be a bit overwhelming to decide what format and platform to use.
But first, you need to decide what your goal is: are you aiming for passive income where you create content and then let the sales roll in, or do you want to do live training, more like coaching?
Once you answer that question, you can choose the format. The most common online course formats are:
If you want a long term, more in-depth course, an all-in-one course platform like LearnWorlds offers tons of benefits. They make your course easy to create, look professional, and allow you to handle marketing, support, and analytics all in one place.
3) Plan Your Content
You’ve got a topic, decided on a content marketing platform, and now it is time to sit down and create the content. For many course creators, this is the most overwhelming aspect of the entire process.
There are so many options, right? Do you create downloads, videos, or modules? If you create videos, are you going to talk to a camera or record your screen? Or a mix of both? How much content do you need?
Take a deep breath.
The key to preventing option overload when it comes time to create your content is by getting organized.
Sit down and answer these questions:
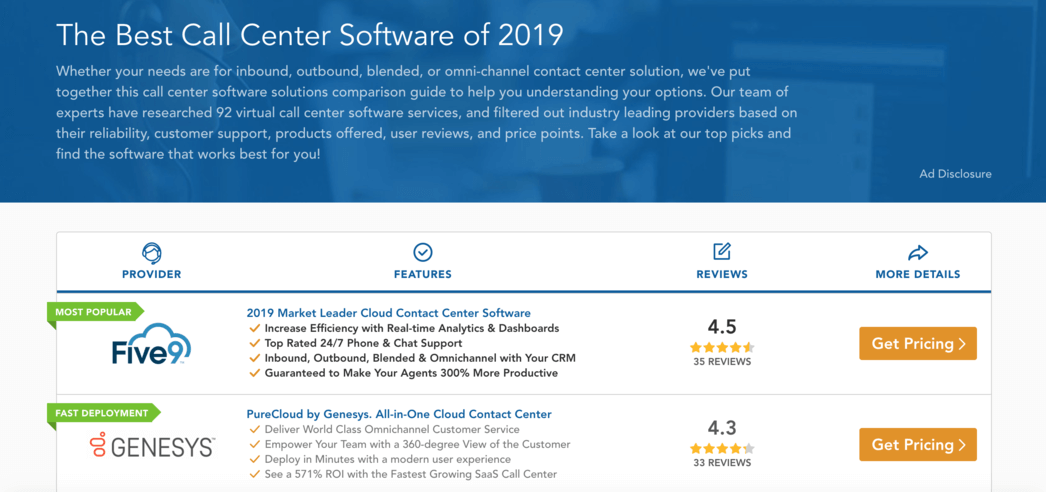
If you have a helpful resource on your website such as this comprehensive call center software guide from GetVOIP, you could consider repurposing it into a PDF as an added bonus for those who sign up for your course.
Now, create a basic outline for each week.
Week X
Topic title:
Description:
Additional Resources:
A simple outline like this will help keep you focused keep the overwhelm at bay.
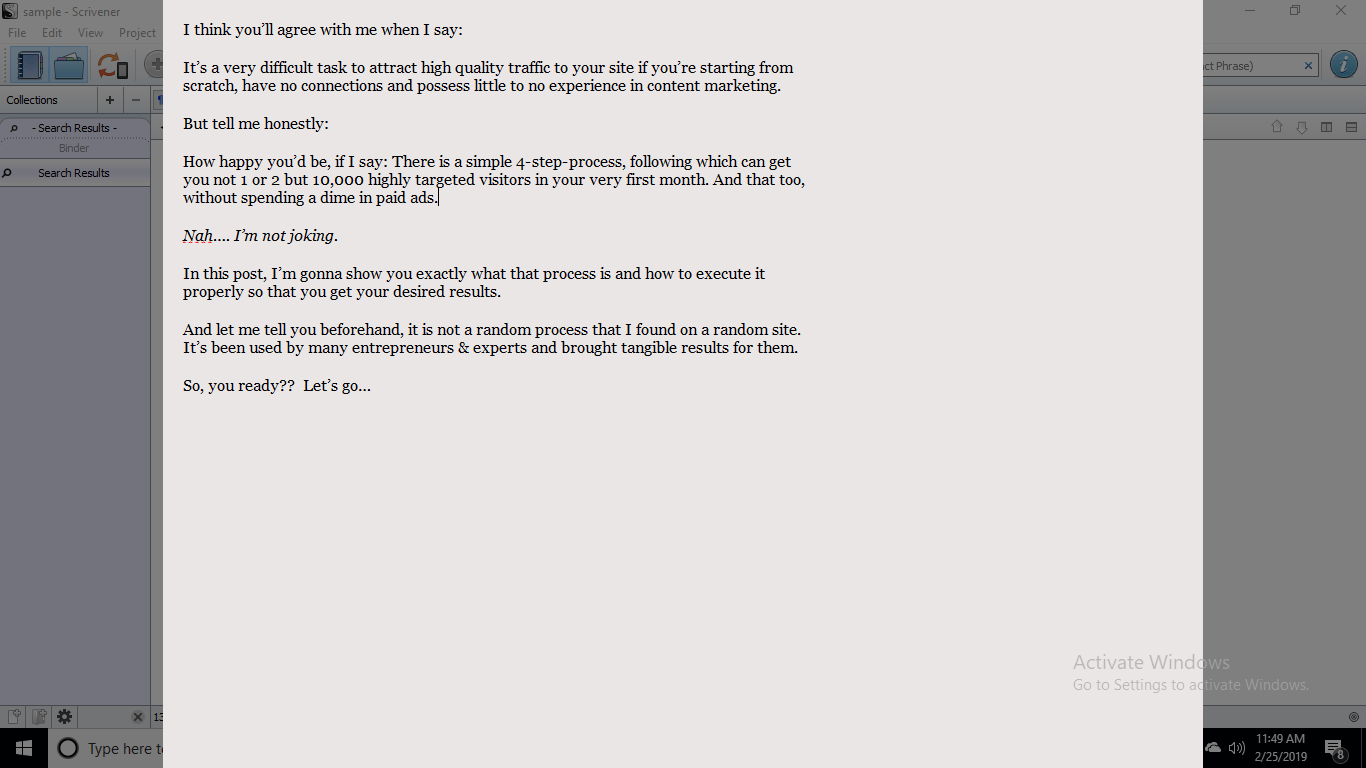
Consider using a writing app to layout each piece of content. For example, writing app Scrivener makes it easy to drag and drop modules so you can reorganize content:
Other writing apps offer templates, so you can create a structure, then fill in the content later.
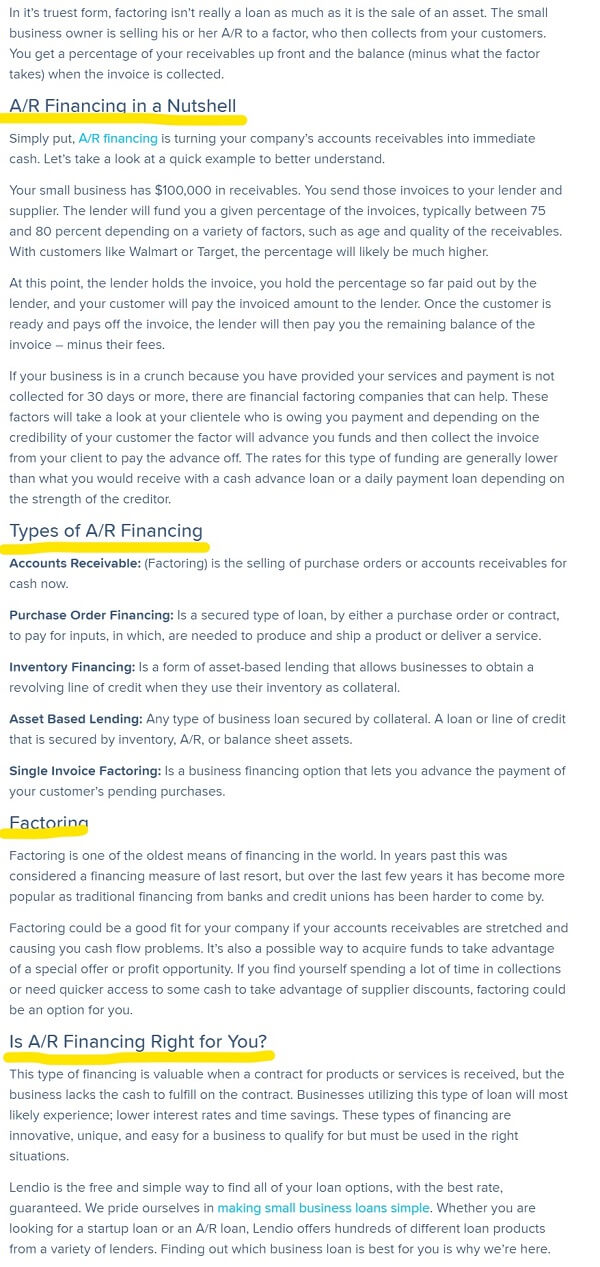
You can also use blog posts as a course outline. For example, take this blog post from Lendio, an online business finance tool. It is a pretty detailed piece about A/R financing, but what if the company wanted to create an online course to cover the topic more in-depth and help walk users through the process?
The headings of each section could easily become Week 1, Week 2, Week 3, and Week 4.
Just like that, your outline is done! Now, all you have to do is create the content for each section.
It is also time to start thinking about additional ways to support your group. For example, chat boards, weekly Q&A, or a private Facebook group where attendants can collaborate, ask questions, and bond with other people who are learning the same skills.
Tip: You can use the storyboard technique to plan your content for each week, and make it easier for yourself!
4) Create Your Course’s Content
Now comes the most time-consuming part of all: sitting down to actually create the content for your course. Here are a few tips and tools for creating better content, whether you are writing or recording.
Writing Content
If the idea of writing weeks worth of content is overwhelming, consider outsourcing some of the work through a content writing service. You will likely have to do some editing, but providing an outline can make it easier to get back high-quality content.
Also, consider how you could use the content you are writing down the road. Can you start a blog write a blog post on a similar content? You could use that as a guest post on a related site to develop brand awareness. This will ensure you get the most mileage out of your content.
Record Videos
Before you record, make notes on what you will say and do a few trial runs to ensure you are familiar with the content and flow. Time yourself to ensure you can cover all the content in the allotted time.
Don’t assume you need a thousand-dollar setup to record a video. Some of the best video recording software to create educational content is now app-based or cloud-based and highly affordable.
Screen recordings are also great options for online courses, you can look for screen recording tools to use.
5) Design Your Course’s Landing Page
They say you can’t judge a book by its cover, but let’s be fair; everyone does. Think of your landing page as the book cover of your course — it is the first impression most people will get of your course.
Even the best online course in the world won’t sell with a terrible landing page and this is the first step for effective online lead generation and being able to sell your course in your sleep.
What makes a good landing page? We are glad you asked! Here are a few features the very best landing pages include.
First and foremost, make sure you’re using the right web hosting provider for your needs when setting up your site so that things run smoothly behind the scenes.
Second, use clear, direct language. Don’t bury the description under a bunch of fluffy language.
Answer “What is in it for me?” by focusing on the benefits right away, like Classy Career Girl does in their landing page:

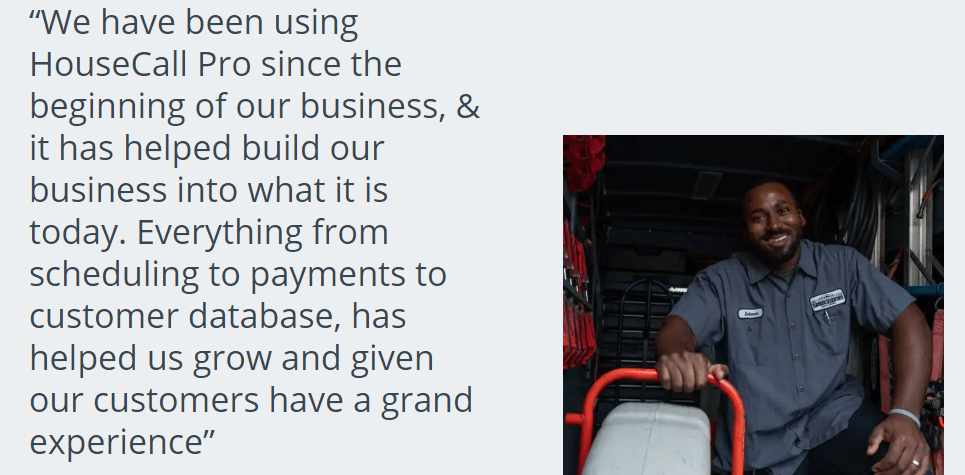
Include testimonials from previous clients to establish social trust. If it is your first course, use testimonials from clients you have worked with in the past. For example, if HousecallPro, a plumbing company software provider, wanted to host an online course, they could use testimonials from their website.
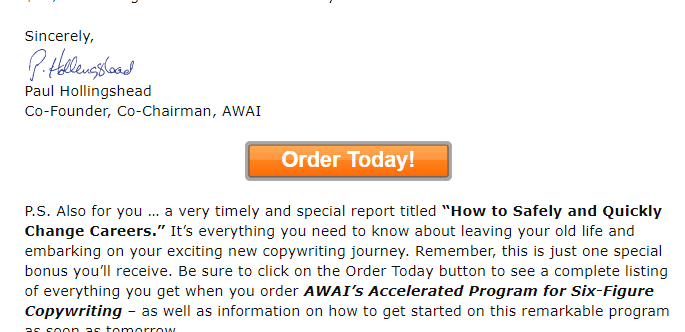
Use a clear Call To Action that tells the customer exactly what they will get when they click. Don’t use obtuse language like “Learn more,” use direct language, such as “Sign Up Now” or “Order Today”, like The Writer’s Life does for their writing course. Notice how the bright orange color stands out.
– If you use a form on your landing page, only for the information you really need. Ask for additional information, such as how they found out about the course or their job title, at a later time. Longer forms will reduce signups.
6) Market Your Course
How will people find your course? You, of course, are brilliant and people will be clamoring to sign up for your course, right? In a perfect world, yes. But in reality, you’ve got to get your course in front of the people who need it! Here is how to do just that.
The best techniques for marketing your course will utilize a high quality content marketing strategy along with paid ads to drive as much traffic as possible to your course. It’s important to pay attention to both key areas for getting traffic and being able to effectively convert that traffic into paying customers.
Social Media
Schedule out posts on your social media accounts to get people hyped up about your course. Use a social media tool like SocialPilot to make it easy to schedule posts weeks in advance on Facebook, Twitter, and Instagram.
Make sure you talk about your course on all other platforms as well, such as your awesome podcast or weekly Facebook live sessions.
Know influencers in your niche who have an engaged following? Give influencer marketing a shot and partner with key influencers who can act as your affiliate and work with you to promote your course to their audience.
Focus on the benefits of your course and how excited you are to help people. Don’t just encourage people to buy, that will come across as too salesy and inauthentic.
Ads
Consider purchasing ads on social media to spread the news of your course. While we don’t have the space to cover ads in detail here, there are tons of good resources out there about creating social media ads, for example this one from AdEspresso.
It’s worth mentioning though that if you’re considering running Facebook ads that a Facebook case study discovered that featuring user-generated content can increase click-through rates by 300%, and decrease the cost-per-click and cost-per-acquisition up to 50%.
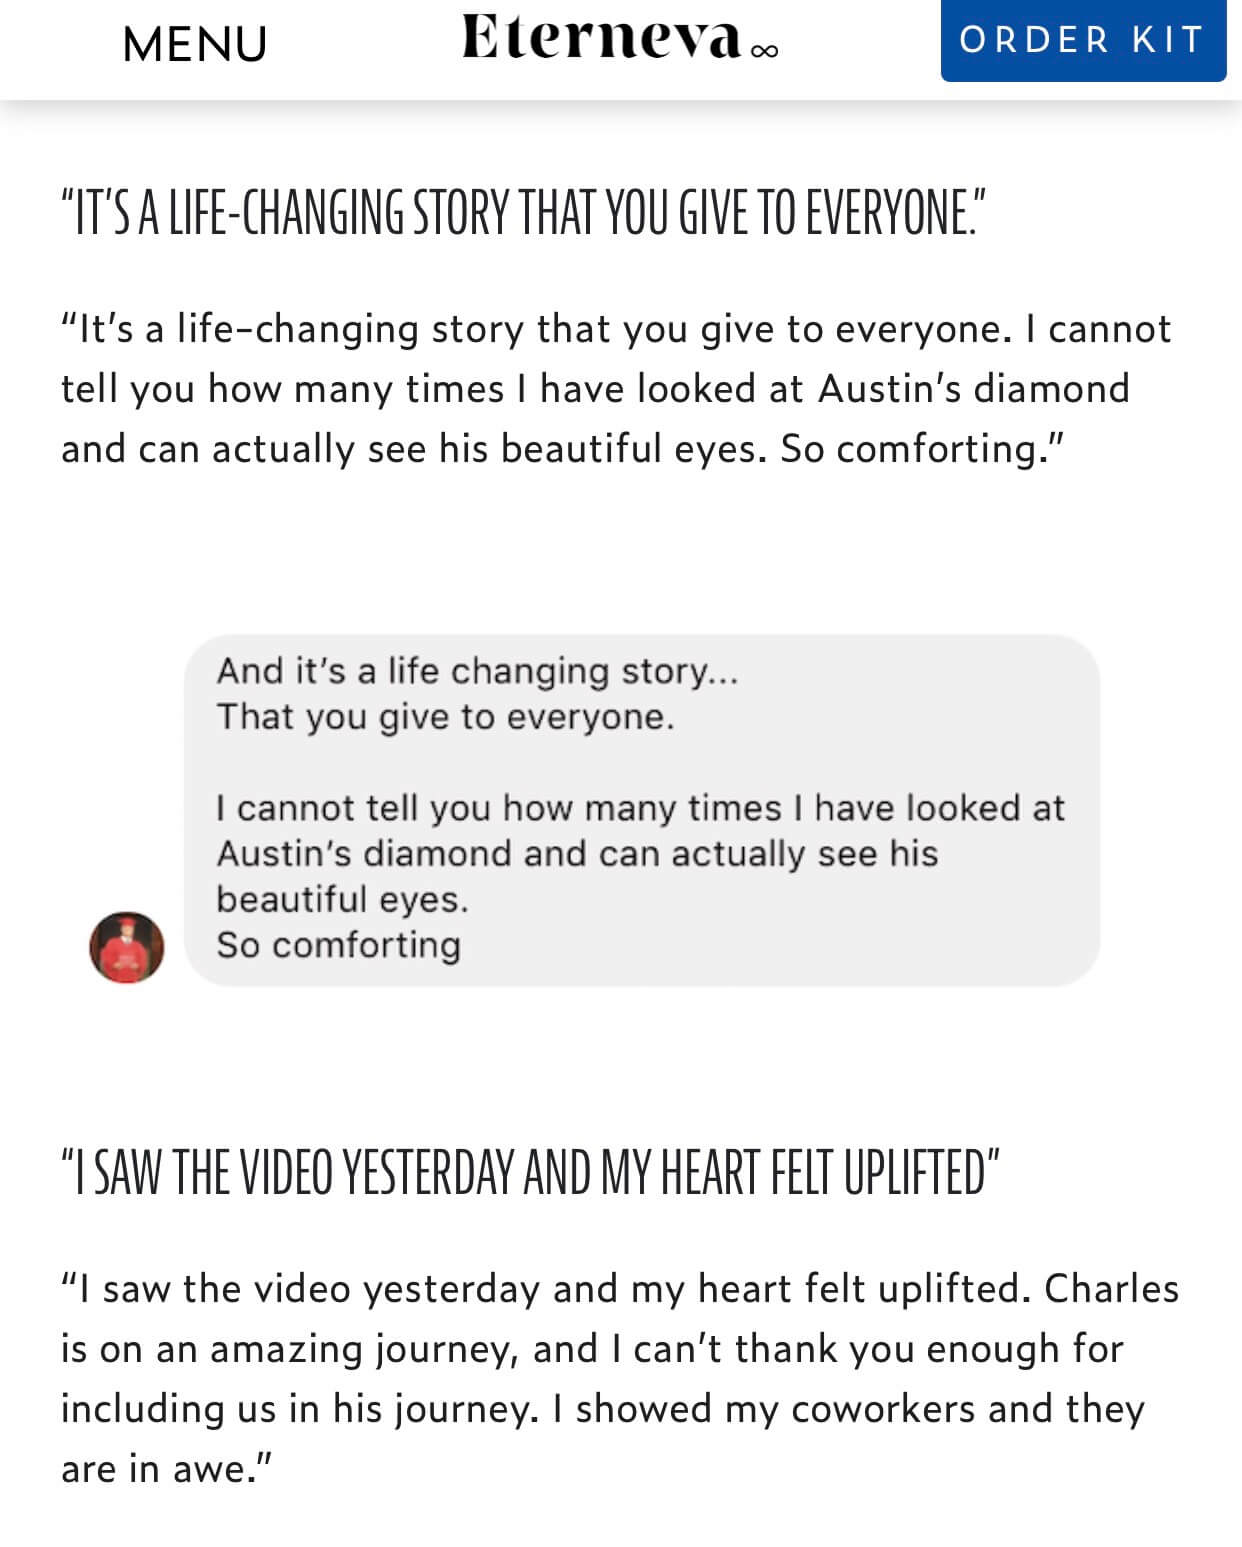
Check out how Eterneva, a company turning ashes into diamonds capitalizes on this by featuring customer testimonials from Google and Social Media to increase conversions.
One last thing is to make sure you use targeting so your ad only shows to people in your target audience, otherwise you risk wasting resources.
If you already have a solid email list, then you have a great head start. Make sure you let them know about your course! Consider offering a small discount or extra incentive for loyal customers.
If you don’t have an email list, now is the time to start building one! Hubspot has a great resource about building an email list from scratch.
Note: Never buy or rent email lists. You want to reach people in your target audience, not every poor schmuck whose email address got scrapped in 2010. In many cases, those addresses are old, and there may be legal implications of cold emailing, depending on your location.
7) Pre-Launch Course Checklist
Building an online course is a labor of love. You must be willing to put in the work and deal with the self-doubt that comes along with creating anything of value. Now that all the work is done, it is time to launch and market your online course. But first, go over the details one last time.
Here is a quick checklist to make sure you’ve got everything covered:
8) What’s Next?
Send out a post-course survey for feedback. Was a specific section hard to understand? Was the platform user-friendly? Are there any topics they would have liked more information about?
Be humble, and listen to the feedback you get. But remember, people learn in different ways, and they come to you with varying skill sets. Your course won’t be for everyone; that is okay. Just be sure to consider the feedback you get and take notes for how you can improve your next course.
Your professional looking Academy in a few clicks
Start FREE TrialFurther reading you might find interesting:

Adam Enfroy
Adam Enfroy writes about how to scale your blog like a startup to 100,000 monthly readers. He launched his blog in 2019 and started generating over $20,000/month in revenue within 7 months. He wants to teach new bloggers how to do the same.