Video-Based Learning: A Complete Guide On How To Use Video To Improve Your Online Course
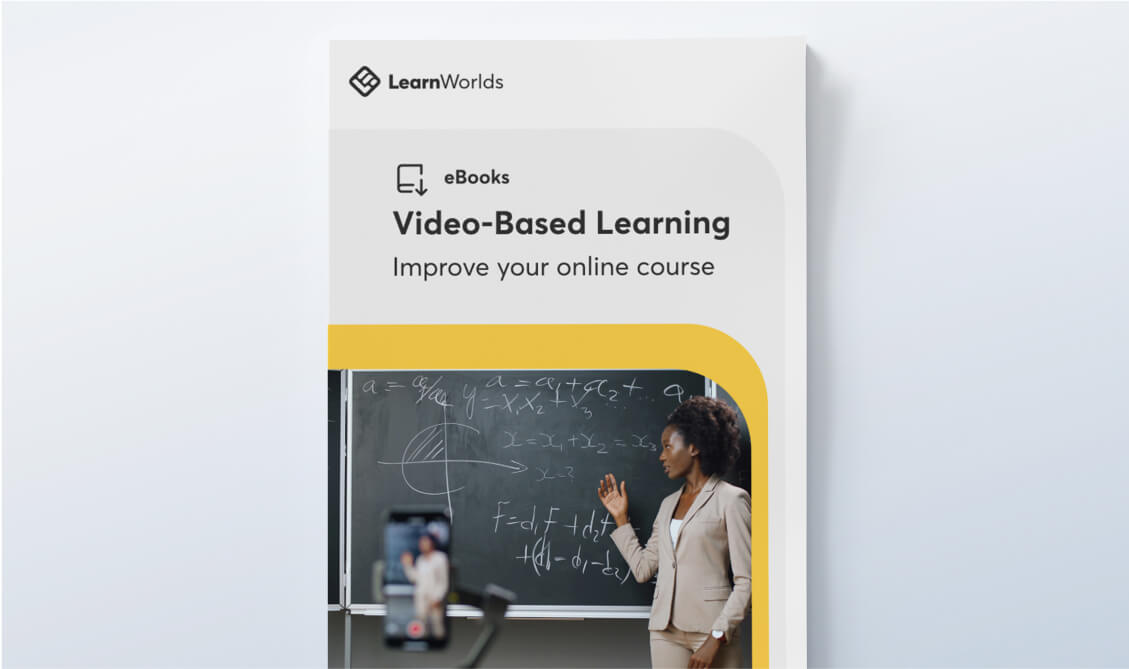
Video in learning is increasingly becoming more popular, with students looking for video-based education and instructors delivering on that. This ebook will guide you in designing video for online learning.
Download
96 PAGES

What's Inside?
The heyday of instructional video use in online courses lies in its shorter and engaging nature that changes the way people learn. Videos, make our courses much more lively and engaging. And if you want to make your videos more memorable, this ebook is for you. Learn everything about Video-Based Learning, and how to create videos for learning!
We are suggesting research-based solutions to use a video inside your course. We also provide guidance for the most effective video design. What is most fascinating about this book is that we guide you through a handful of exciting instructional techniques. On top of that, in this ebook you will learn which video editing tools to use and how to use video analytics. Use your creativity and imagination throughout your read to create wonderful instructional videos.

Who is This for?
Are you a professional trainer, a blog author or a youtuber? Do you run a small, medium-sized or large business and want to talk to people with videos? Then, this ebook is for you! Video is the most effective way to communicate with an audience online. So, don’t miss the chance to learn more on the subject!

Contents
A detailed breakdown of what's inside
-
Chapter 1How do Videos Take Online Training to the Next Level?Learn why instructors all over the world choose to provide videos for learning, and the real reasons you should add videos in your courses. Also, learn the brain science behind the video-why is video so beneficial for learning?
-
Chapter 2How to use Video-based LearningHow exactly can I use videos in my online course? In which moment and for what? Explore all possible ways to use videos in your course and also explore all video content ideas, that is what your video will include.
-
Chapter 3How to Design a Successful Video-Based Learning ExperienceHow can I create an exciting video narration? This chapter contains the most significant tips for a great video design. Learn how you must insert your textual explanations, how to start your video and much more!
-
Chapter 4Directing and Recording your Instructional VideosWhat are the directing strategies you should have in mind before video production? How will you present yourself in the video? How will you interact with the content presented each time? This chapter provides a taxonomy that will help you choose which instructional video production style best suits your course.
-
Chapter 5Screencasts: Easy and fast video lecturesThis chapter teaches you literally everything you need to know about screencasts. What are the benefits of using screencasts? What are the necessary steps to create one and what does the research suggest about an effective screencast creation?
-
Chapter 6Powerful Tools to Create your Own VideosDo you want a video editing tool that’s easy to use or maybe a more advanced tool? Do you want a tool to create stunning animations or other presentations? This chapter describes more than 20 video editing tools you can choose from!
-
Chapter 7Evaluating the video's effectiveness through Video AnalyticsIn this chapter you will learn everything about video analytics, what you can see and why they are so crucial for an online instructor.
The authors
The book is brought to you by the LearnWorlds Business Development Team.

Anthea Papadopoulou
Anthea is a Course designer and Content Creator for the LearnWorlds team. She holds years of experience in instructional design and teaching. With a Master of Education (M.Ed.) focused in Modern Teaching Methods & ICT (Information & Communications Technology), she tries to bring more scientific research to the E-Learning industry.

George Palaigeorgiou, PhD
George was confounder and now mentor of LearnWorlds and Lecturer of Educational Technology in several Greek Universities. His research focus is to advance online learners’ experience with state of the art technologies. He is the one that first designed and developed LearnWorlds interactive video back in 2012!


