
Payment Methods
Accept voucher payments in BRL with the Boleto LMS integration
Let learners pay with a Boleto voucher and get course access once the payment is authorized. The Boleto LMS integration runs through your Stripe account.
TL;DR
The Boleto integration lets learners in Brazil pay a voucher at authorized agencies or banks, at ATMs, or through online bank portals. LearnWorlds opens access only after a successful authorization.
Reach voucher buyers. Learners pay with cash or card in kiosks within 7 days
Skip manual payment checks. LearnWorlds recognizes the payment and opens access after authorization
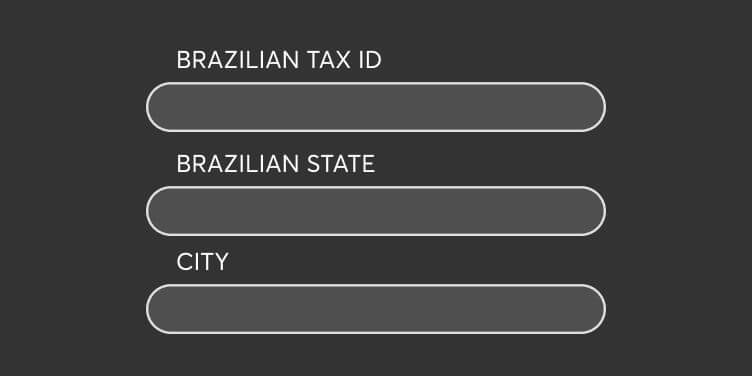
Skip billing setup. Brazilian tax ID, state, and city fields appear once Boleto is on
Boleto sits with other local methods, including Pix, in LMS checkout.
Best for: Course creators who sell in Brazilian Real to learners who prefer paying with a voucher.
Works in BRL only, and not for subscriptions or installments.
What you can do with Boleto and LearnWorlds
Accept BRL voucher payments
Take Boleto payments through Stripe from customers in Brazil and customers who sell in BRL.
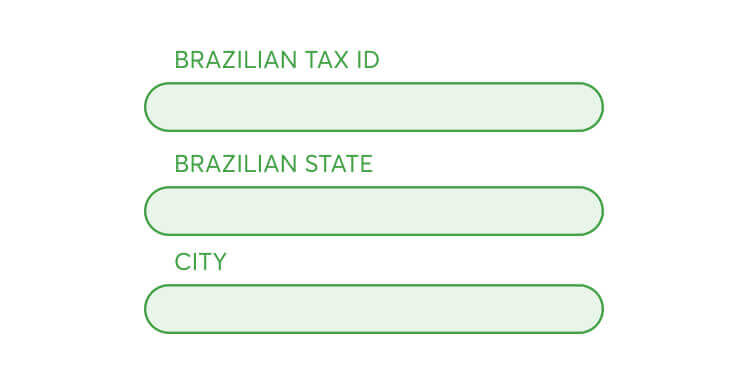
Collect Brazilian billing details
Require the Brazilian Tax ID, state, and city from Boleto buyers. Other payment methods keep those fields optional.
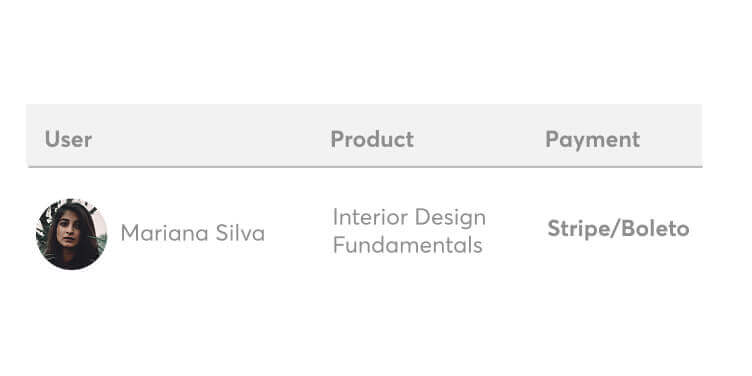
Track Boleto orders
See successful Boleto purchases in Report Center > Sales > Order and in Activity History > Events.
Send invoices and notifications
After a successful payment, learners get access plus the invoice and Course Email Notification from your school.
How LearnWorlds and Boleto integrate
See what happens at checkout once Boleto is on. Automatic rows run after setup, and conditional rows need a currency setting first.
| LearnWorlds | Boleto | Type of trigger |
|---|---|---|
| Learner opens the payment page | Boleto icon appears next to other payment methods | Automatic |
| Learner clicks Buy with Boleto | Voucher displays with payment codes and a payment notice | Automatic |
| Learner leaves a required billing field empty | Message asks for the Brazilian Tax ID, state, or city | Automatic |
| Payment authorized | Learner gets course access, an invoice, and a Course Email Notification | Automatic |
| School currency set to BRL | Boleto works through the Stripe payment gateway | Conditional |
What teams ask before connecting
Is Boleto only available for Brazilian schools, or can any school turn it on?
Only if your Stripe account supports it. The account needs to support Brazilian Real, and its country needs to support Boleto. The help article names Brazil as that country. Your school currency also has to be BRL.
Do I need to set up anything in Stripe before Boleto appears in LearnWorlds?
Yes. Turn on Boleto in your Stripe dashboard under Settings > Payment methods, and connect Stripe to your school in Settings > Financial > Payment Gateway. Then activate Boleto in the Stripe payment methods list.
Does the learner get enrolled immediately after generating a Boleto, or only after payment clears?
Only after payment clears. LearnWorlds recognizes the payment and gives course access after a successful authorization. The learner has 7 days to pay before the voucher expires.
How to set up the LearnWorlds and Boleto integration
You need a Stripe account that supports BRL and Boleto. At the end, learners see Boleto on your payment page.
1. Set your currency to BRL
In LearnWorlds, go to Settings > Financial > Currency and select Brazilian Real. Boleto works only with BRL.
2. Turn on Boleto in Stripe
Log in to Stripe, open Settings > Payment methods, and turn on Boleto. Requires: a Stripe account that supports BRL and Boleto.
3. Connect Stripe to LearnWorlds
Go to Settings > Financial > Payment Gateway, select Stripe, and connect your Stripe account with your school.
4. Activate Boleto in LearnWorlds
Scroll to the Stripe payment methods list and activate Boleto. Subscriptions and installments don’t work with Boleto.
5. Review billing details
Go to Settings > Financial > Billing Details to see the added Brazilian fields. Learners must fill them in to buy with Boleto. For the full setup guide, see the Boleto help article.
What the Boleto integration handles automatically
Show Boleto at checkout
LearnWorlds automatically shows the Boleto icon next to other payment methods when the learner reaches checkout.
Add billing fields
LearnWorlds automatically adds Brazilian Tax ID, state, and city fields to Billing Details when you activate Boleto.
Show the voucher
LearnWorlds automatically displays the voucher with payment codes when the learner fills in all details and clicks Buy.
Open course access
LearnWorlds automatically opens course access when a Boleto payment authorization succeeds.
Send invoice and notification
LearnWorlds automatically sends the invoice and Course Email Notification when a Boleto payment is authorized.
Record the order
LearnWorlds automatically records a successful Boleto purchase in Report Center Sales and on the Activity History Events page.
| What LearnWorlds handles automatically | What your team configures |
|---|---|
| Adds Brazilian billing fields when Boleto is on | Sets the school currency to BRL |
| Requires the Brazilian fields for Boleto buyers | Chooses whether other methods also require them |
| Shows the voucher after a learner clicks Buy | Turns on Boleto in Stripe and in Payment Gateway |
| Opens access after successful authorization | Offers one-off products, since subscriptions and installments don’t work with Boleto |
Who uses the Boleto integration and how
Course creators selling in Brazil
A learner picks Boleto at checkout, saves the voucher, and pays by cash or card at a kiosk within 7 days. Access opens once the payment is authorized.
School admins reviewing Boleto sales
An admin opens Report Center, checks Sales > Order or the Activity History Events page, and confirms which Boleto purchases succeeded.
School owners with existing PagSeguro accounts
Schools that already activated PagSeguro keep Boleto support there. New PagSeguro customers can’t use the provider with LearnWorlds, so they set up Boleto through Stripe.
What our customers are saying
“If in a week our team could onboard five companies, now they can onboard ten companies in one training session, in one day.”

Lara Oliveira, Community Learning Experience Specialist, Blip
“I love their customer support, which is top tier. I always receive quick replies, and they always solve my issues. When I first joined LearnWorlds, the platform was very simple to understand and get by. We’ve been going strong and love it!”

“I like that LearnWorlds provides me with a fully functional website where I can offer my students self-study resources and a community chat. The team is responsive and professional, and they really care about what they are doing.”
“I find the AI bot helpful as it gives answers to my questions and even generates pictures for problem-solving. The platform is easy to use, and I love the different ways a course can be customized and has so much interaction.”
“We get email prompts about enrollments, which is a wonderful experience, allowing us to welcome new people with ease. The hands-off experience lets me focus on chemistry, removing the technical hassle of enrolling people.”
“The platform has been easy to set up and navigate. Plus, the onboarding calls have been helpful and tech support is extremely responsive! I am so pleased So far, the tech support has been worth every penny I’ve paid!”
“The platform integrates our website, funnels, marketing, and learning system all in one place, which is super convenient. I also appreciate their regular updates and the support team, which is extremely responsive.”
“I like the sleek, modern, easy to configure aspect of the platform. It is very easy as an admin to to set up pages without using code. I also like the modern features – like lesson markers, ai, and reporting”
“It’s amazing compared to our old learning platform. Every time I think of something I’d love to be able to do, a quick search shows that it’s available, and over a year in, in still finding even more features.”
“The wide range of features, responsive support, and regular platform updates. The value is good for the price, especially considering the range of features, regular updates, and responsive customer support.”
“It’s just amazing to find an all-in-one platform that delivers such high quality, they’ve really raised the bar and I love not having to compromise on the product we deliver because of software limitations.”
“The platform is really configurable, giving us a huge amount of flexibility about how to lay out our course. It’s allowed us to deploy our course in a drip feed format, which is fantastic for our learners.”
“I am using LearnWorlds for long time and it give us interactive video features, quizzes, buttons, notes inside videos and many more. LearnWorlds provide all in one online course and its creation tools.”
“What I like most about LearnWorlds is how easy and intuitive it is to use. I also really like the possibility to customize the school and make it fit your own style and brand.”
“The site is very user friendly and easy accessible. UI/UX is wonderful. The onboarding was also very easy”
“There are a lot of unique and user friendly features. The system is very customizeable.”
FAQs
You need a Stripe account that supports BRL and Boleto, a connected Stripe payment gateway, and your school currency set to BRL. Start in Stripe, then finish in Settings > Financial > Payment Gateway. See other options on the LearnWorlds integrations page.
The voucher expires after 7 days. The learner can make a new attempt, but doing so risks paying for the same product more than once.
No. Subscriptions and installments are only supported through Stripe and can’t be used through Boleto.
In Report Center > Sales > Order and in Report Center > Activity History > Events. Both show the successful purchase.
The Brazilian Tax ID, Brazilian State, and City are required for Boleto. Other payment methods keep the Brazilian fields optional, and City stays optional unless you mark it required in Billing Details.
Yes, if you sell in BRL to learners who pay with vouchers. Setup takes five steps, and LearnWorlds then shows the voucher and opens access after authorization.
Published:
Last Update: